The floors in your house take a lot of abuse. Think about how often you and your family, friends and guests walk around, tracking dirt, germs and who knows what else! You might notice that your tile and grout are getting grungy, dirty and just not looking their best. But what can you do to bring the tile and grout back to their previous clean glory, or is it a lost cause? We are here to tell you that your tile and grout can be looking new and refreshed!
Can You Clean Tile and Grout Yourself?
With the right tools and sometimes a lot of elbow grease, you can definitely get the tile and grout in your home looking brighter and cleaner.
You can make a paste of baking soda and vinegar to “paint” on the grout lines, then spray the paste with a solution of equal amounts water and vinegar. Once the solution stops bubbling, scrub the grout with a nylon bristled scrub brush, or an old toothbrush (be sure to mark the cleaning toothbrush to ensure it doesn’t end up in someone’s mouth!) After scrubbing away all the buildup, mop the floor with plain water to remove the baking soda and vinegar residue.
Those instructions were pretty easy to write, but they’re a lot harder to follow. Cleaning your tile and grout yourself is a lot of work, and still may not produce the best result. So, is there a better way?
Sams is the St. Louis Area Tile and Grout Specialists
We get it. You have a lot to get done in a day. Getting down and deep cleaning the tile and grout in your home is not a quick and easy process. You might be thinking, “Who has time for that?”
Well, that’s where the Sams team comes in!
Here’s the 8-step process our technicians follow to help St. Louis area homeowners restore their tile and grout to its original beauty:
- Inspect the surface for any damage
- Carefully move furniture and prepare the work area
- We will sweep and vacuum the surface to remove loose dirt, dust or soil
- Apply a pre-conditioner to break down any oil and residue
- The floors are scrubbed with abrasive brushes to remove stains and traffic patterns (no one wants to see that, right?)
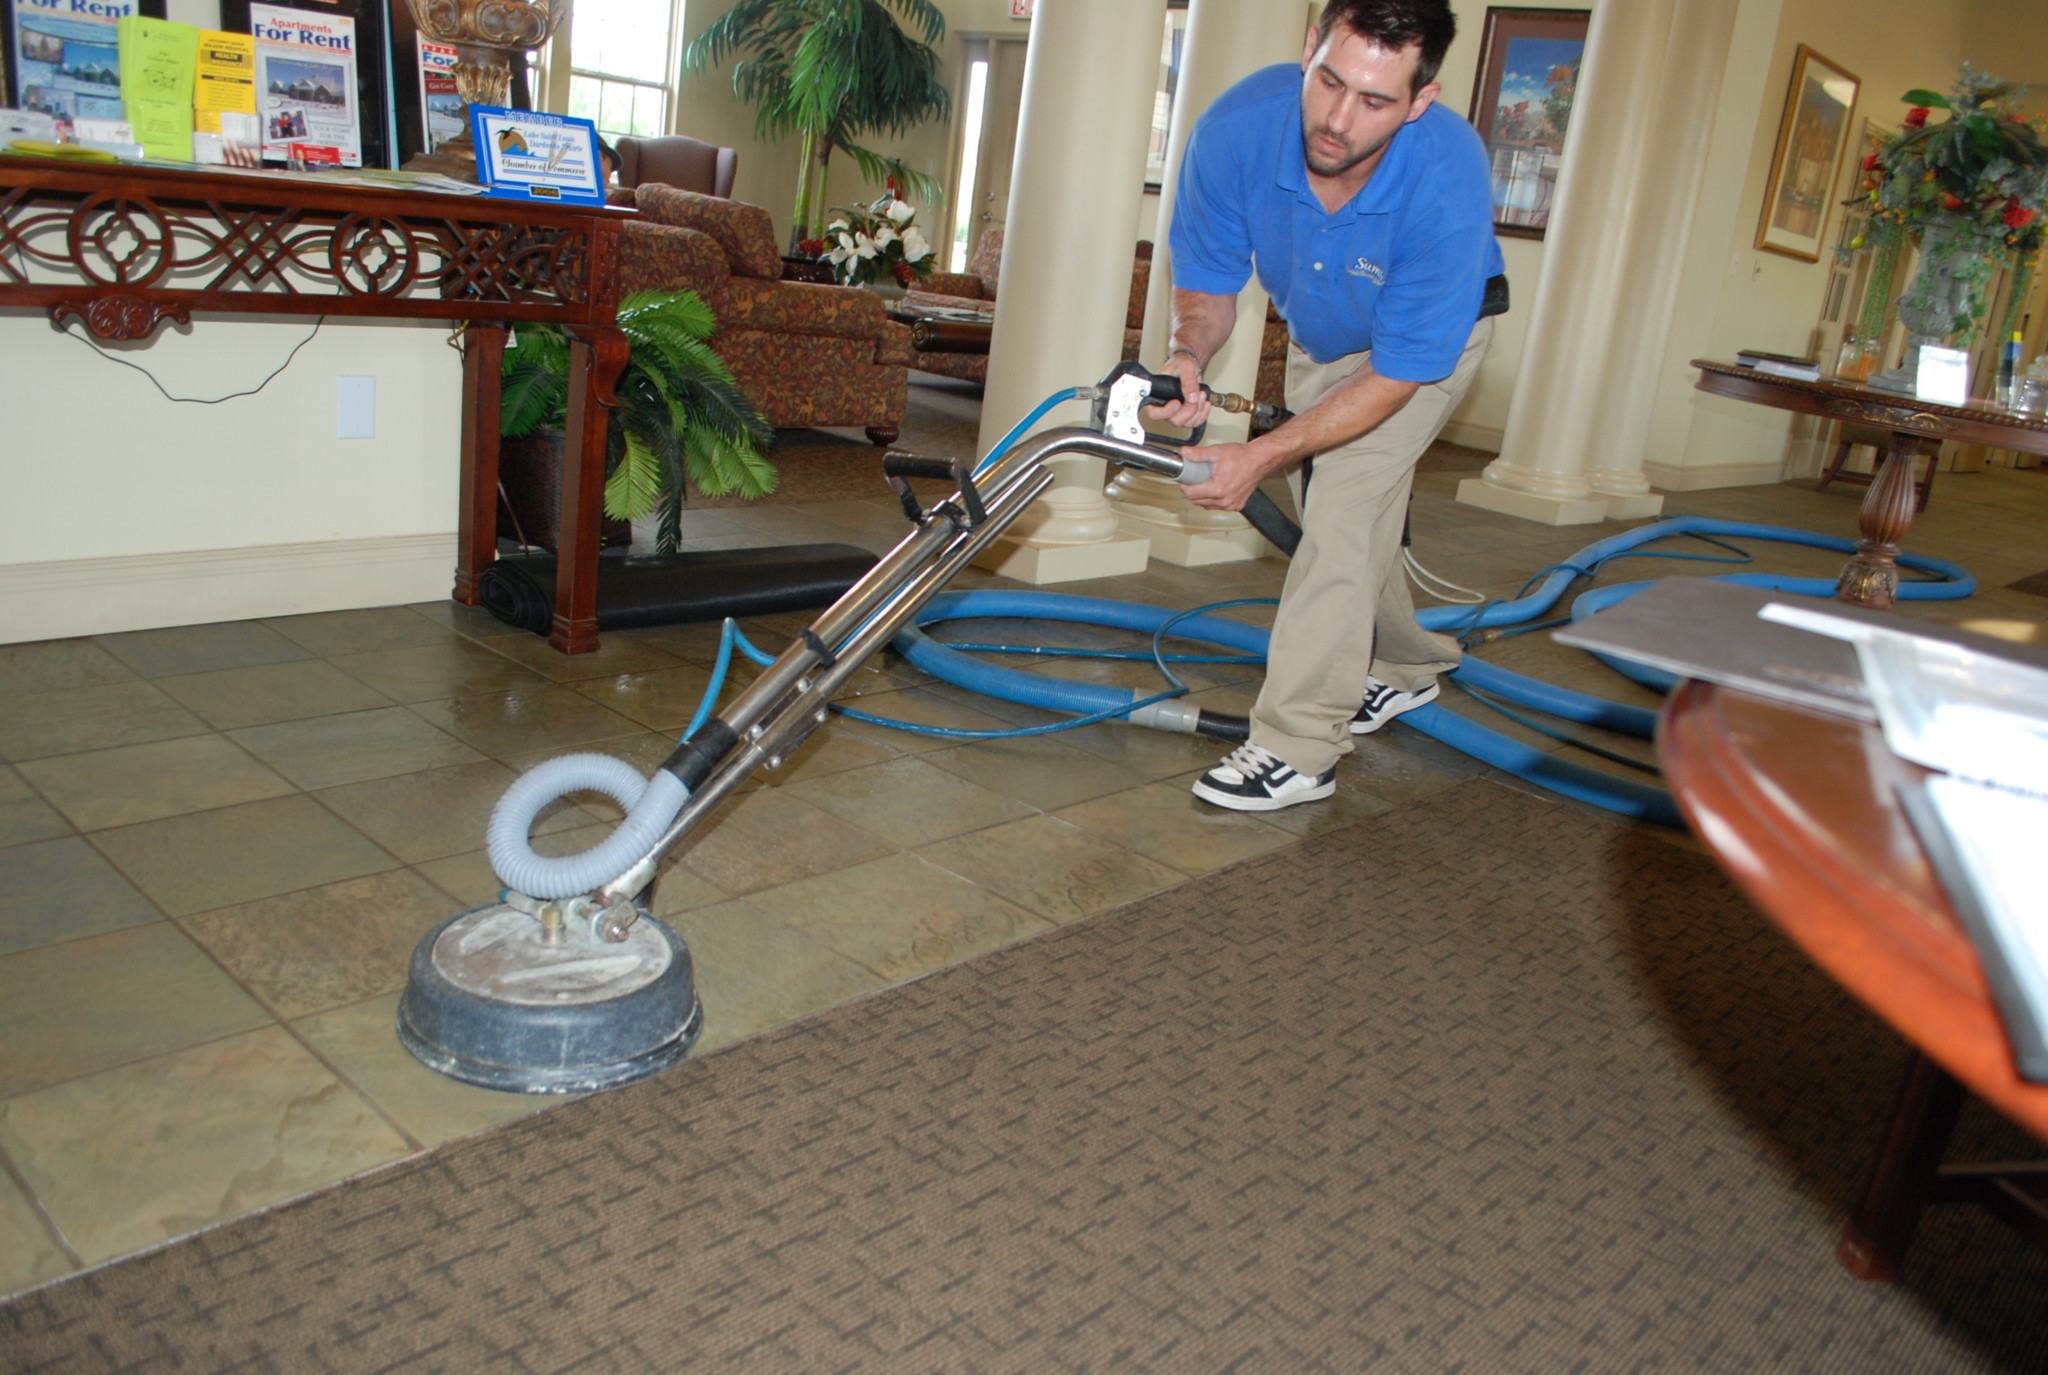
- Pressure cleaning is done with a rotary hot water extractor leaving the area clean and fresh
- Excess water residue is removed and the drying process begins
- Once dried, furniture is returned to their original positions!
- If you’d like, a sealant can be applied throughout to help prevent future staining of your grout and make cleaning easier! If sealant is applied, the drying process will take a little longer.
And that’s it! Having your tile and grout professionally cleaned will make the entire room look fresh and new again. We’re not recommending that you eat off the ground, but, after our deep cleaning of your tile and grout, you most certainly could. Nobody here will judge you for it. Contact us to learn more or to set up an appointment.

